
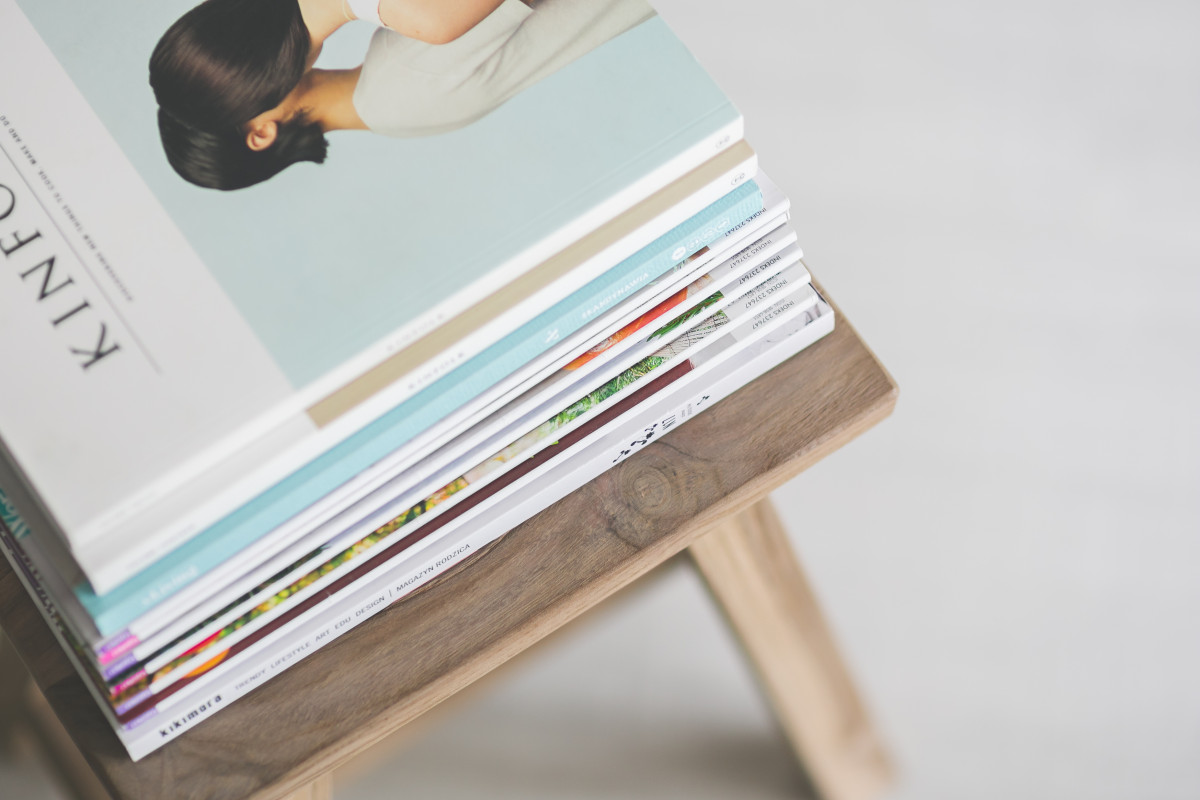
Great product photography can make the difference between a sale and a bounced browser. When shoppers browse items online, they cannot touch, hold, or inspect merchandise in person. Instead, they rely entirely on visual representations to understand quality, texture, and scale. Mastering this craft does not require an expensive, professional studio setup. With a clear understanding of lighting, composition, and basic camera settings, anyone can capture clean, compelling images that showcase items in their best light.
Understanding Lighting Fundamentals
Light serves as the most critical element in any successful shoot. Natural light remains a favorite for beginners because it creates soft, appealing shadows and requires minimal equipment. Positioning a shooting table near a large window allows plenty of indirect sunlight to illuminate the subject. Direct sunlight, however, often proves too harsh, casting deep shadows and washing out important details.
When relying on natural light, using a simple white foam board can help control contrast. Placing the board opposite the light source bounces stray rays back onto the shaded side of the object, filling in harsh shadows. For those shooting indoors or during evening hours, basic studio softboxes or LED panels provide consistent, adjustable illumination. Consistency ensures that every item in a catalog maintains a uniform look, which builds trust with potential buyers.
Choosing the Right Background and Composition
The background should always support the product rather than distract from it. A seamless white sweep remains the industry standard for e-commerce because it eliminates visual clutter and keeps the buyer’s focus entirely on the item. Seamless sweeps can be created easily using a large roll of white paper or poster board curved smoothly from a vertical surface onto a horizontal tabletop.
Composition plays an equally vital role in effective product photography. Applying the rule of thirds helps guide the viewer’s eye naturally toward the focal point of the image. Leaving adequate negative space around the item prevents the frame from feeling cramped and allows room for cropping or adding text overlays later. Keeping the camera level with the product usually yields the most realistic perspective, though overhead flat-lay shots work wonderfully for smaller items like jewelry, cosmetics, or stationery.
Camera Settings and Sharpness
Sharp, detailed images communicate quality and professionalism. While modern smartphones feature powerful cameras capable of producing stunning results, understanding basic camera settings elevates the final output. Using a tripod is essential for preventing blur, especially when shooting in lower ambient light or using slower shutter speeds.
A narrow aperture, represented by a higher f-stop number like f/8 or f/11, ensures that the entire product remains in sharp focus from front to back. Focusing manually on the most important detail of the item, such as a brand logo, a textured fabric weave, or an intricate clasp, guarantees crisp clarity where it matters most.
Common Mistakes to Avoid
Even with good equipment, certain pitfalls can ruin otherwise promising shots. Common errors include:
- Mixing different color temperatures, such as combining warm indoor bulbs with cool window light, which creates unnatural color casts.
- Failing to clean products thoroughly before shooting, leading to visible dust, fingerprints, or smudges that demand extensive retouching.
- Overprocessing images with heavy filters or excessive contrast adjustments that misrepresent the true appearance of the item.
Final Touches and Post-Processing
Post-processing should enhance an image rather than fundamentally alter reality. Basic adjustments usually involve cropping for proper framing, straightening horizons, and slightly lifting shadows to reveal hidden details. Keeping editing subtle ensures that customers receive exactly what they expect when their order arrives in the mail, reducing returns and increasing overall satisfaction.
Related Links
- A Beginner Guide to Candle Making at Home
- A Beginner Guide to Pottery Basics Tools and Techniques
- A Beginner Guide to Creating Stunning Resin Art Projects
- A Beginner's Guide to Jewelry Making at Home
- A Beginner Guide to Macrame Wall Hangings and Knot Techniques
- A Beginner Guide to Creating Digital Art Using Modern Tools
- Mastering Portrait Photography: Essential Techniques for Striking Images
- Essential Tips for Mastering Landscape photography
- A Complete Guide to Planning Your Wedding Photography Timeline